I Found the PERFECT Stylus For Drawing and Painting on iPad – Procreate App

Finaly! The Perfect Stylus For Doing Your Art on iPad

ARtist, Will Terry used to use His finger to create art on his iPad

Will Terry displays his favorite stylus

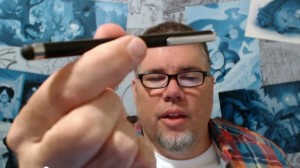
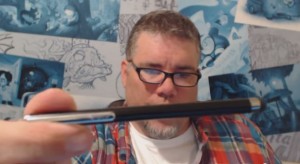
I use a fat bulbous stylus

I have found the perfect stylus for drawing and painting and doing all that digital artwork on my iPad. Using a Procreate drawing app. I used to use my finger, in Photoshop and in Procreate. As you know, the best stylus is the one you have with you and you should always have your fingers, or at least one of your fingers with
you. I have changed my mind since I’v found this. See the pictures.

How can this bulbous pointed thing be a good stylus?

000 Stylus 02But when you draw with something blunt like this, you are less likely to get that into detail too soon. Like if you are painting, William Whitaker says you should go for the biggest brush you dare to use and then grab one a little bigger.

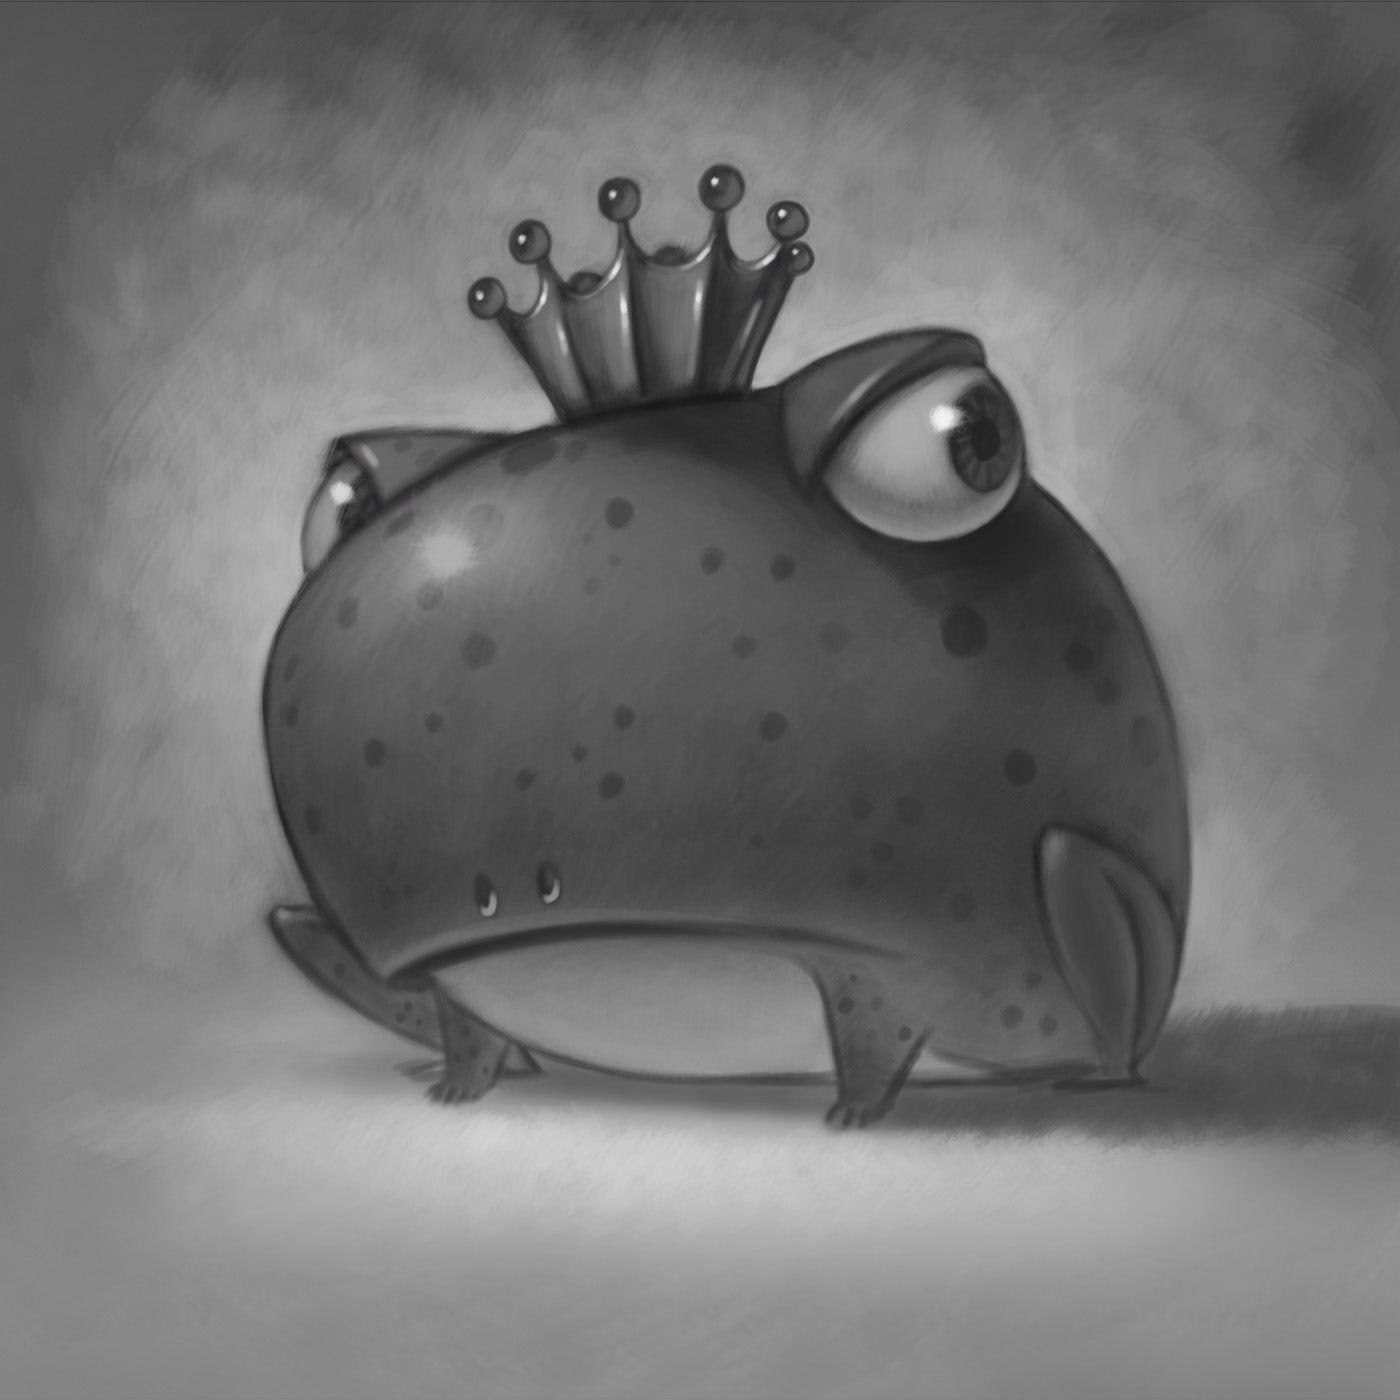
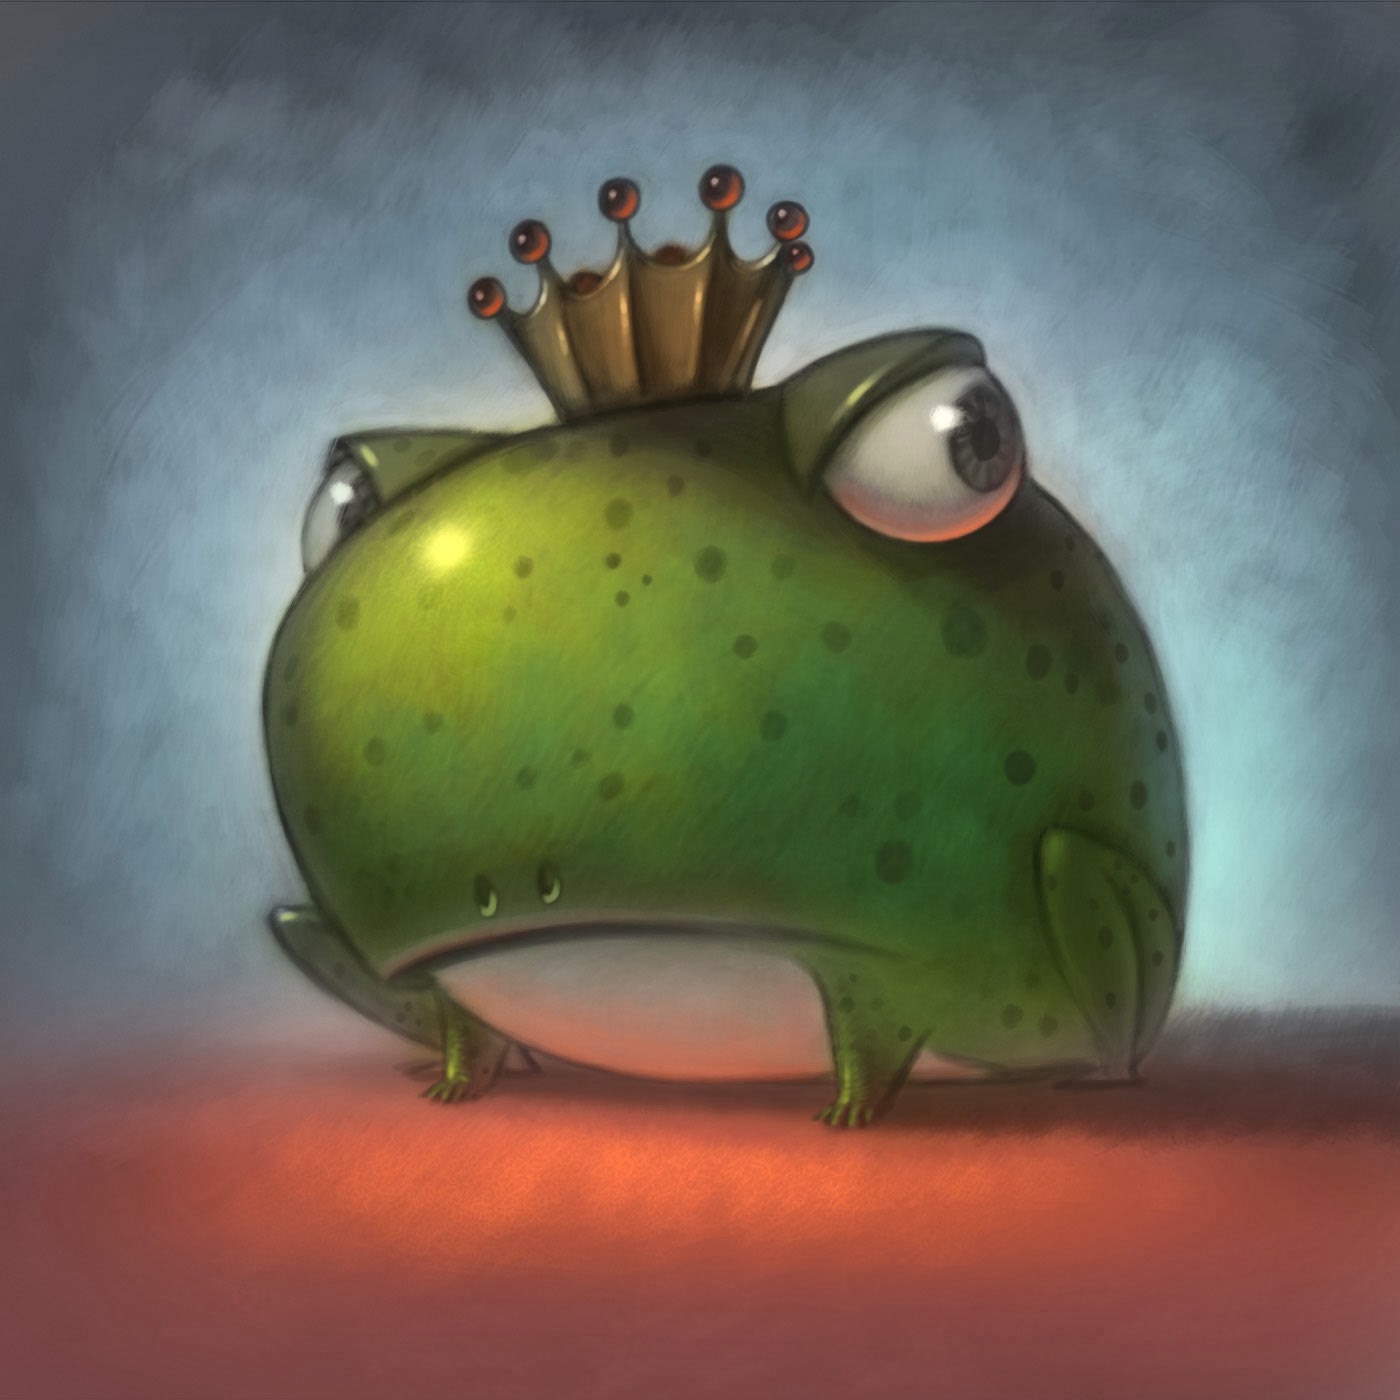
So with this bulbous, fat, blunt stylus, I just start drawing.

Artist Will Terry displays a few sketches on his iPad

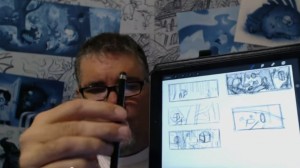
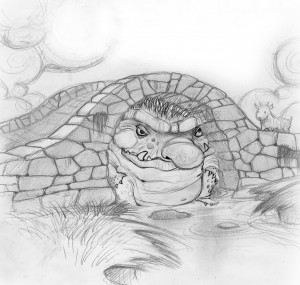
See sketches there to the right.

I first come up with a few sketches, doing all my initial design for my images with the fat stylus right on my iPad or on my Cintiq monitor.


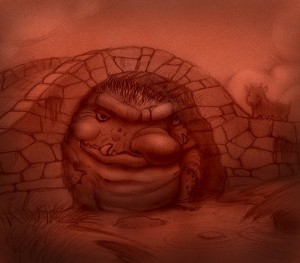
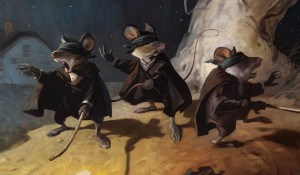
I turn my design into a composition.

Composition on an iPad

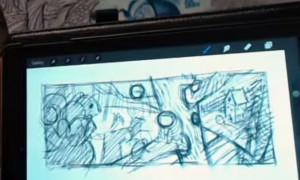
My Simple Composition

Just like when you paint in Photoshop, you want to start with huge clunky brushes. All the realy great Photoshop artists use a big brush in Photoshop.


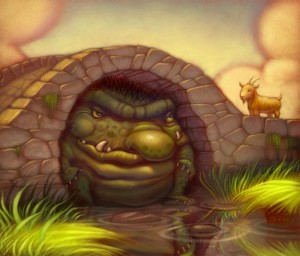
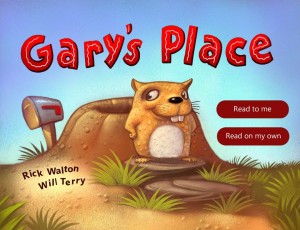
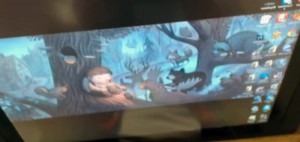
Then Work the Composition into a Painting

Digital Painting by Will Terry

The comp there, became THIS Painting which I just finished on my cintiq monitor. You may remember it from a previous post. See it here on my Cintiq monitor as well.

000 Stylus 06So when you are painting, Start with a big brush and when you are painting digitally, start with a big stylus like the one I use now instead of my finger.


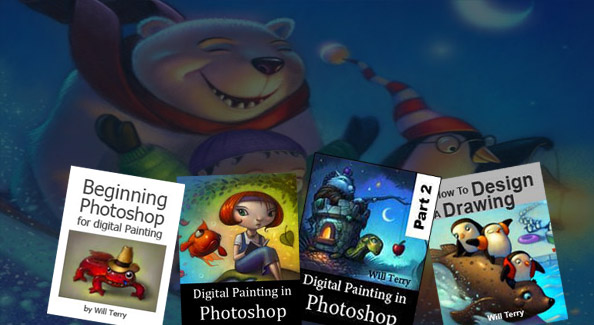
This Fish King Painting was done with the fat Stylus

King Fish
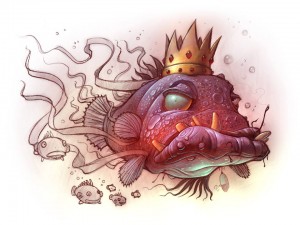
This Fish King Painting was done with this stylus that I displayed above. You may remember it from a previous post.

You can spend over $100 on a stylus

I am asked here at FolioAcademy,  ALL THE TIME, Will, What stylus should I get? What is the best one for me? Which one are you using? Should I get the one that has a little plastic tip? Or one with pressure sensitivity or virtual pressure sensitivity. (I don’t know about that, because it may be for you if your painting style requires some of that, and that could be a good one).

OK it may not be the very best Stylus, but it’s the best for me. 

000 Stylus 08

OK I admit I said I found the best stylus but I have to admit that it may not be the best for you. It probably is, however, you may be light years ahead of me and using one of those artsy, schmancy, pressure sensitive, new fangled,  expensive, high falutin types.

For me, the $12.00, blunt tipped, stylus you can get at Target or the basic store. I think I spent $12.00 on mine. And if and when it wares out or gets lost, I am not out a whole lot of money.

 Paint and Draw from General to Specific, Digitally and Traditionally

So to recap, you should know this already but if you don’t, you should start rough, and work from general to specific. That was drilled into us at BYU by the Dean of the Illustration Department, Robert Barrett, and he was right. After you get your painting blocked in, or your drawing roughed in, then you can go in and start picking out, or putting in, the detail. So many paintings are ruined because the artist starts noodling it to death and working on detail when the basic shapes and design are still not worked out or defined. In a word, use a fat stylus.

I will post a demo next week of a sketch to a nearly finished piece.


You can’t just fix a bad design with good color

If it don’t work in Black and White, it ain’t gonna work in color. 

A good painting will also look good in Black and White. That is to say, if you can’t work out your value patterns in black and white, you won’t be able to just fix it with color. Have you ever heard of a grisaille, (that was a tough one to sound out, let alone spell) It’s a black and white under painting. I think the word gray, or grey, as I like to spell it, comes from the same root.

What is a Grisaille and how do you pronounce that?

Grisaille (/ɡrɨˈz/ or /ɡrɨˈzl/French: gris [ɡʁizaj] ‘grey’) (Giz-eye is how I pronounce it) is a term for painting executed entirely in monochrome or near-monochrome, usually in shades of grey. ~Wikipedia 

Work out your lights and darks before you add color

So, where was I? Ho yeah, it is often wise, especially for beginners, to work out you lights and darks before you move to color. I like to give it the squint test. Squint at your work and see if it reads well. Do the wrong things disappear? Do the right things stand out?
The under painting can be in a sepia or other tone too, for a nice effect, it doesn’t have to be BLACK and White.

Light and Shadow

Where is your light source? Is it in the picture? If so, you shouldn’t have anything in the painting that is brighter than the light source.

Are the shadows, cast, core etc, in the right places? I am thinking that the cast shadow in this piece is not dark enough.

Do you have reflected light in the right places?

Just add Color, or Colour as my UK friends like to spell it.

If you are painting digitally, like in Photoshop or on the iPad, you will enjoy the ability to undo. If you are using water colors then you can just glaze transperant colors over you black and white under-painting. AKA Grisaille.

If you are using oil paints, you may want to try a water color, acrylic, or gwash, (i better look that up) Gouache. The oil paint goes right over the aqueous paints without disturbing them and it works really well. You should see how Robert Barrett uses gouache, for under-paintings to create a beautiful effect. He calls it a “Rub-out” technique.


Working with Color

Billy Goats & a Troll, Three Blind (Pew) Mice, Illustration wit a Twist

 Put a new twist on an old idea

Why not make the troll HUGE!

Troll SketchThis is an image for a fun little book project I was doing awhile ago and unless you just arrived on this planet you already know what the story is.
I had done another book project that was for a fractured fairy tale called The Three BULLY Goats. A cute little story where the goats were the bullies and the troll was kind and gentle.
I guess that led to me wanting to

illustrate another troll under a bridge with a goats story. I wanted to make an image that would bring a slight twist on the classic BILLY Goats Gruff tale and I thought that playing with the scale of the troll might make my piece more unique. I’ve always been puzzled when musicians re-make a well-known song yet fail to put their own artistry into the performance. I hope I can give this book freshness so that both adults and children can appreciate it.

CAN YOU TELL IF I PAINTED THIS TRADITIONALLY OR DIGITALLY?

Part of my process has always been to work from a warm tone over the entire surface – and then I add tone to the shadow areas. Weather I used acrylics, oils or an iPad or other digital devices, I would still go from a toned canvas, to toned shadows to to the finished piece.

I combined two different sketches to get it right. 

I combined two sketches because I was having a hard time drawing the Troll where I wanted him in one sketch. I used Photoshop to get it right…and the painting was also done in Photoshop. – Brushes that never run out of paint! Undo! Copy Paste! Endless Adjustments! Speed! No Shipping Costs!

A new look at an old illustration

3 blind (pew) mice. A  new take on an old favorite by NC Wyeth called the Blind Pew.

0003 Jim M. 3 blind mice. A new take on an old favorite painting from NC Wyeth called the Blind Pew.
Artist Jim Madsen, (Wayne Andreason is his best friend) copied “Blind Pew” with a twist. He took an old favorite by NC Wyeth, the Blind Pew and put it to Three Blind Mice.

The Blind Pew ~NC Wyeth

NC Wyeth's illustration, the Blind Pew
Compare the mouse on the left and the house in the background. And the color pallet and painting technique. Although Jim’s is a digital painting. Way to go Jim.

HOW TO MAKE A STORY APP – STEP 7

links to previous steps are at the end of this post. 

Add sound effects to your story app.

Adding the sound effects was one of the funnest parts of the creation process. I was amazed at how the sound can “sell” the animation or idea – it’s pure magic. Watching your little animations is great but they are silent by themselves – adding the right sound brings them to life.

A few tips for finding and applying sound effects to your apps.

I used freesound.org for a bunch of the sounds in my app. The sounds are free to use as long as you give credit to the artists in your project. I only used “public domain” sounds and “creative commons” licensed sounds. The agreements can be easily viewed and read on their site.

I also created some sounds using tinyvox on my iPad and then altered them in Audacity. I couldn’t find a good digging sound for Gary but I knew what I wanted – so I scratched my pant leg  – I know – weird right? But it made a pretty good sound and I could kill tow birds with one stone. (don’t really kill birds) I could get that sound I wanted and scratch that itch on my leg at the same time. Then I doubled it up in Audacity, changed the pitch, and cleaned up the front and back end and it was perfect!

Kwik allows you to use both mp3 and wave files which you can create in Audacity. My total learning time in Audacity was about one hour from fooling around with the program and watching youtube videos produced by 8 year olds.

One of the most important things you can do with your sound files is to chop off the dead space at the front and end of the clips. You don’t want the users of your app to hear hiss or crackle before the actual sound is about to play.

Stay tuned for more Steps. Coming soon.

Cover Picture of Gary's Place


I’ll keep sharing my progress on “Gary’s Place” which I plan to submit to Apple, In fact, It is NOW only available on IOS But – we’ll have it up on Amazon for android very soon!…did I mention – IT’S DONE!!!!, Google, Amazon, etc. in a few weeks. Just in time for Christmas (Next Year) I’ll continue to blog about this process even sharing my sales stats when it hits the various app stores!

A few reviews already:

“My Kids adore Gary.” ~Sabrina Chamberlain-Parks

“Great job Will! I loved the page/scene transition especially.” ~Jan Clifton Watford

I bought the app for myself, I don’t even have kids and I loved it. Gary pulls you in and you can’t wait to turn the page to see what he’s up to next. Great job Will, I’ll pass it on to my parenting friends! ~Zulu Zulu

See how to make a story app from the beginning.

If you’re wondering where the first steps are I started this project back in September 2013 – check these links: And if you just want to brush up on your nun-chuck skills, or rather, your art skills, take a course at folioacademy.com, art lessons online.

Now available, Step 8. The final step, till we add more, are you ever realy finished?

Step 1Step 2Step 3Step 4Step 5Step 5.5Step 6

IMAGINATION & VISUAL LITERACY CLASS

Artist Will Terry is still teaching.

I’m teaching a class called “Imagination & Visual Literacy” at UVU right now. I love this class. It’s all the good stuff. I think I learned more than my students in developing the curriculum. If you want to learn something, try teaching it.

The Assignment, Draw a cat.

Above is my attempt at the in-class assignment yesterday. Draw a cat looking out of a bedroom window and include 25 items in the room but put all of the emphasis on the cat in 45 min. Since it was a drawing – students couldn’t use color for emphasis which is one of the easiest ways to accomplish this task. High contrast and crisp lines were all they could use.

I drew the above image along with them on my iPad hooked to the LCD projector. I like creating problems that I would also like to solve – why should my students have all the fun?

HOW I USE PROCREATE TO DRAW ON MY IPAD

Watch the art lesson video below for iPad tips with Procreate

In the video below, artist Will Terry, shows you how he’s using the Procreate app to make drawings for his children’s books, iPad apps, personal and professional freelance work.
He loves the Procreate app! It allows him to make high resolution drawings that he can email to his desktop and paint in Photoshop. No more running out of paper. No more pens, not having a pen, running out of lead, no more pencils, no more books, no teachers dirty looks.
Will can take his work anywhere and he can go through the entire drawing refinement process without the use of a scanner or tracing paper.
“It has made me much more productive, I can do finish work anywhere”
Will has been known to work at the doctor’s office (not as a doctor), in meetings, waiting in the car (well he is married), on airplanes, at conferences and more. He just has to remember to take enough work with him when he leaves his studio.
Enjoy the video…
To learn more about illustrating or how to paint in Photoshop, or how to illustrate children’s books, or many other great art techniques, visit FolioAcademy.com.

Folio Academy has teamed up with Kwiksher for a limited time.

Get Four of Folio Academy’s video training courses FREE when you purchase Kwiksher. 

Bring your interactive stories to life, without code. Creating your own apps can be fun and fulfilling and now anyone can do it with Kwik 2 at kwiksher.com.

What is Kwiksher? The best way to create mobile apps from Photoshop!

click below to See Kwik in action.

Improving Your Work, Training with the Best

Alex Souza, the founder of Kwiksher says, “I am a believer that there is always space for improvement (in our lives, skills, and so on). Of course this applies to Kwik made apps.”

Picture of four bonus video courses: Beginning Photoshop for digital painting, Digital Painting in Photoshop part 1 & 2, and How to Design a Drawing

Quality is one of the top reasons for successful positions into store rankings.

Thinking about that, I partnered with Folio Academy and Will Terry, one of the top children’s book illustrators in the world, to provide quality instruction to anyone willing to improve illustration and painting skills with Photoshop.

Will’s life’s goal was to become a children’s book illustrator, and to date, he has illustrated over 25 children’s books with great publishers like Scholastic, Random House, Leap Frog, Houghton Mifflin, Dial, Albert Whitman, and Simon Schuster.

I am really a fan of what he is able to do and I believe everybody will get great insights from his blog

Every new Kwiksher customer (till end of April) will get the following four training videos for FREE.

Every Kwiksher customer can get a 50% discount (till end of April) on the following four training videos by Will at Folio Academy. But even better, all new customers who purchase Kwik 2 at Kwiksher.com will be given, all four of these wonderful lessons. ~Alex


  • How To Design A Drawing: explains what it means to design a drawing as well as an introduction to the design principles and elements. Honestly, I wish I had this information while in college;

Together, these tutorials cost US$100 so, don’t miss the opportunity to get them with the discounted price.

My Art is For Babies ?

My 9 year old (my baby) said my art is for babies

I will admit that I am trying to appeal to a younger audience since I illustrate children’s books. Some times I have to hit the cute button a bunch of times before it looks right. (oh how i wish there was a “cute” button) So in response to my son’s accusation I wanted to see if I could still conjure something up from my junior high days of drawing sculls in the margins of my tests.


Yup – still got it.

I did this doodle out in the car while my wife did some shopping. I showed it to my youngest child, my 9 year old – he thought it was “totally bad” meaning good of course – score one for the old guy. Oh – and I fooled around with it in Photoshop to add some mood.

PROCREATING! ER UM…CREATING IN PROCREATE

I created this image using Procreate on my iPad – I love this app!

Link to FolioAcademy.com Digital art tutorials

I just got back from the SCBWI Southern Breeze conference in Atlanta. I was being entertained by Dianne Hess (editor at Scholastic) as she gave her speech – an inside look at her company. I have to draw to listen so I was on  my iPad using “Procreate“. It’s my go to program for creating all of my sketches now – I love the screen rotation feature and the larger file sizes. Oh yeah – and I’m still only using my finger. I find it fascinating that it bothers people that I won’t go out and drop coin on a stylus. It bugs my students, friends, and strangers that I meet – like the guy who sat next to me on the plane. “You know you can buy all kinds of styluses for that device,” he informed me…I just agreed….by the way it strengthens my resolve to run sans stylus with each criticism.

A special shout out to Elizabeth Dulemba for inviting me to speak, being a great host, running an awesome conference, and being a great illustrator. I met so many cool people down there – too many to list but you know who you are! I hope to be able to get down there again sometime.