How To Make A Story App – Step 5
Adding color using Photoshop!
Design it all before you start to color it. First things first.
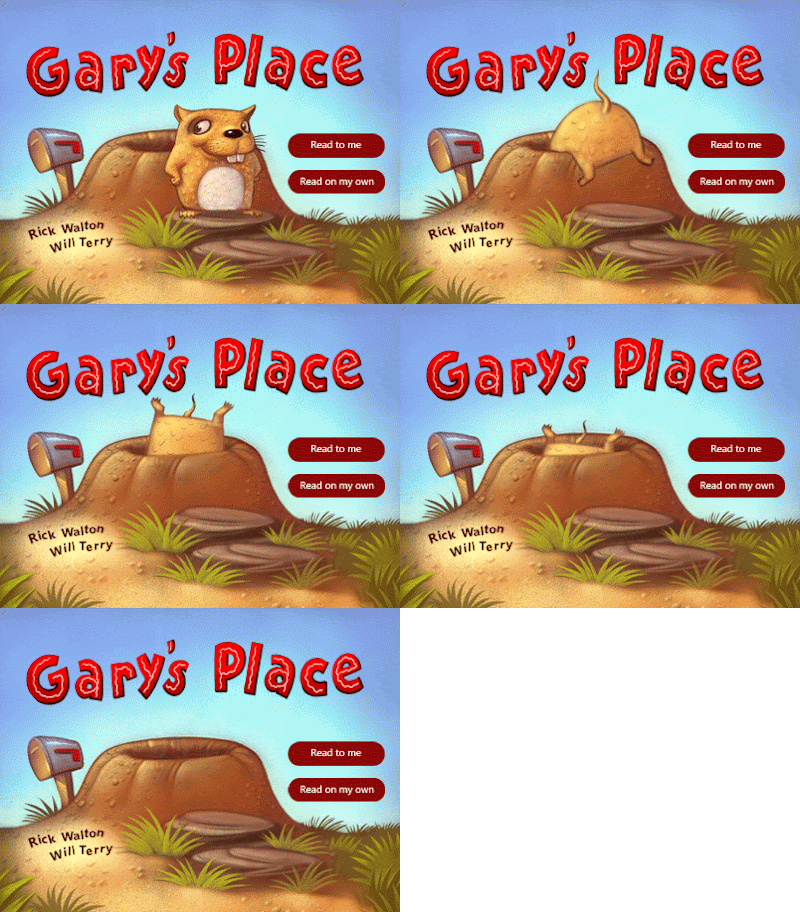
Making progress! I have the opening screen finished! I’m now adding color to all the pages. This step is going to take me a while so don’t think that I’ve quit if you don’t see step 6 for a few weeks. I had to make sure that every screen/page was working with the story and that the animations made sense. The last thing I want to do is start my finish work before the framework is in place. It’s much easier to alter a sketch than a painting and if I were doing this 10 years ago (even though there was no such thing as an iPad) I would have most likely started on the color before I was ready.
So the way it will work is that the user will be prompted to touch Gary at which point he disappears into his hole and hopefully entices the user (kiddy) to want to know where he went and what it looks like down there.
If you’re new to this blog you can scroll down to see my first steps on this journey – and I haven’t forgotten that I plan to share all my stats with you when I put this baby in the app store. (Cross your fingers) I’m always so curious to know how other people’s apps are doing – but nobody shares that info – like it’s classified or something…think of me as your own personal Eric Snowden – I’m going to leak all the intel on my app – good or bad – we’ll all see how it does.
I’ll be making my app with Kwik – the DIY Photoshop plugin that allows a non-programer to create their own code behind the scenes of this wysiwyg. Our Kwik class starts tonight – can’t wait!
Check back for step 5.5. coming soon, I hope. Thanks.
coming November 8, 2013

