Finaly! The Perfect Stylus For Doing Your Art on iPad
ARtist, Will Terry used to use His finger to create art on his iPad
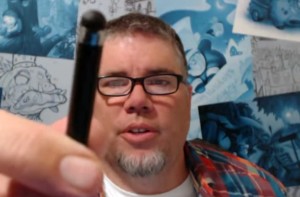
I have found the perfect stylus for drawing and painting and doing all that digital artwork on my iPad. Using a Procreate drawing app. I used to use my finger, in Photoshop and in Procreate. As you know, the best stylus is the one you have with you and you should always have your fingers, or at least one of your fingers with
you. I have changed my mind since I’v found this. See the pictures.
How can this bulbous pointed thing be a good stylus?
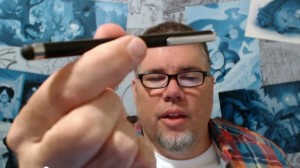 But when you draw with something blunt like this, you are less likely to get that into detail too soon. Like if you are painting, William Whitaker says you should go for the biggest brush you dare to use and then grab one a little bigger.
So with this bulbous, fat, blunt stylus, I just start drawing.
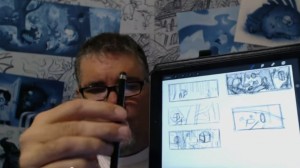
See sketches there to the right.
I first come up with a few sketches, doing all my initial design for my images with the fat stylus right on my iPad or on my Cintiq monitor.
I turn my design into a composition.
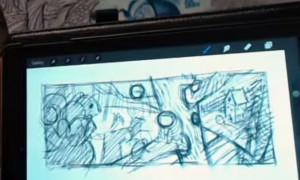
My Simple Composition
Just like when you paint in Photoshop, you want to start with huge clunky brushes. All the realy great Photoshop artists use a big brush in Photoshop.
Then Work the Composition into a Painting
The comp there, became THIS Painting which I just finished on my cintiq monitor. You may remember it from a previous post. See it here on my Cintiq monitor as well.
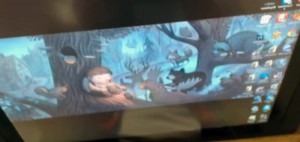 So when you are painting, Start with a big brush and when you are painting digitally, start with a big stylus like the one I use now instead of my finger.
This Fish King Painting was done with the fat Stylus
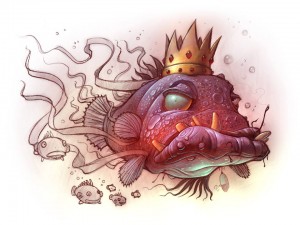 This Fish King Painting was done with this stylus that I displayed above. You may remember it from a previous post.
You can spend over $100 on a stylus
I am asked here at FolioAcademy, ALL THE TIME, Will, What stylus should I get? What is the best one for me? Which one are you using? Should I get the one that has a little plastic tip? Or one with pressure sensitivity or virtual pressure sensitivity. (I don’t know about that, because it may be for you if your painting style requires some of that, and that could be a good one).
OK it may not be the very best Stylus, but it’s the best for me.
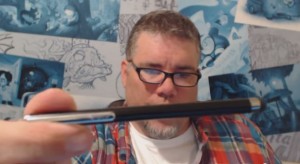
OK I admit I said I found the best stylus but I have to admit that it may not be the best for you. It probably is, however, you may be light years ahead of me and using one of those artsy, schmancy, pressure sensitive, new fangled, expensive, high falutin types.
For me, the $12.00, blunt tipped, stylus you can get at Target or the basic store. I think I spent $12.00 on mine. And if and when it wares out or gets lost, I am not out a whole lot of money.
Paint and Draw from General to Specific, Digitally and Traditionally
So to recap, you should know this already but if you don’t, you should start rough, and work from general to specific. That was drilled into us at BYU by the Dean of the Illustration Department, Robert Barrett, and he was right. After you get your painting blocked in, or your drawing roughed in, then you can go in and start picking out, or putting in, the detail. So many paintings are ruined because the artist starts noodling it to death and working on detail when the basic shapes and design are still not worked out or defined. In a word, use a fat stylus.
I will post a demo next week of a sketch to a nearly finished piece.

