Artist Demo on iPad using Procreate and a Cheap Stylus
Working From General to Specific I start by Roughing it in
Last week I mentioned that I “found the perfect Stylus” and I showed you a few steps and told you to work from general to specific, as I was taught by my friend and mentor, Robert Barrett. AKA Bob Barrett.
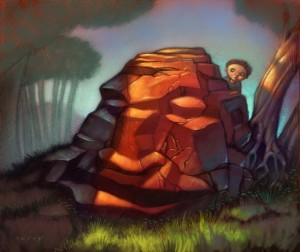
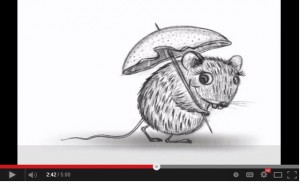
This was a little 2 hr drawing, of a Rat character that I did in Procreate. I had this Idea to draw a little rat that made made an umbrella out of an orange peal and a tooth pick.
Video below for Artists who hate to read
If you are like me and you don’t like to read. I get a lot of questions about my process so I thought I’d do a little demo, in fact if you scroll to the bottom you can just watch the video. It’s a speed painting but I talk it through.
Start your drawing by blocking in your sketch
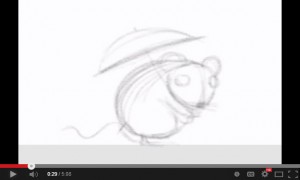
I always start by blocking in the basic shapes. I’m on my iPad right here, if you saw last weeks post, you may remember that I use a real cheap Targus stylus pen, stylus that you can get for about $12.00 at Target or Walmart. I like the blunt tip, as I like to block in the basics to start.
But what about detail? Keep reading.
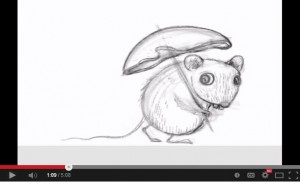
Add Detail with a blunt tip by Zooming In

What you won’t see in these pics or the video below, is that I am zooming in to add detail. If you get the basic shapes in first, you don’t need to worry about ruining it by adding detail too soon. Plus, zooming in to add eyelashes and fur and stuff and I am putting it in the right places as the basic shapes are there. So when I zoom in, I still know where I am.
Work the entire picture as you go for a constant look.
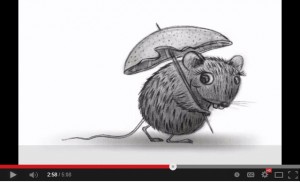
 I don’t work one spot to completion but rather, I go over the entire picture over and over again. As I add fur, I do it all over then add a little more, then work something else, like more fur, shade etc. Bringing the entire sketch, slowly to a more finished look. Not staying in one place too long. This also helps you get a consistent feel throughout the entire painting. This way I am happy with it before I dive into the detail. General to specific I tell you. Bob knows his stuff.
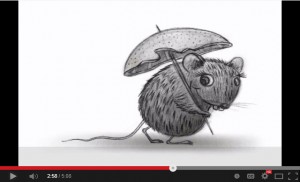
I use a few layers but not a lot.
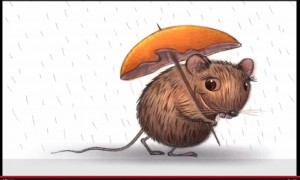
 I used three or four layers on this drawing. Then I flatten them down. And maybe add another layer, so I can edit new stuff before I flatten it down again. I like to use a new layer when I start on another area. That way you can edit as you go. After I get the drawing complete, more or less, I can add color. Note how I add color to the whole piece
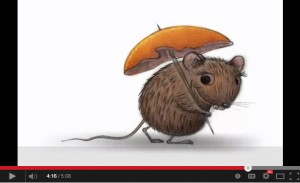
 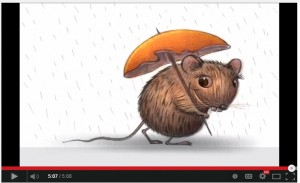 then move to some more color. Once the value and basic color is in place, I work some more color. Shadows and highlights.
This is not how I usually Paint, but…
Warning! there will be a few adds here and links our website store.
On my children’s books and bigger illustrations, I work differently. I might get started on my iPad then move it to my desk top and use my Cintiq monitor or Wacom tablet and Photoshop. I would add the color there and add the detail later. Probably because of the size of the full spread files and what not. I am finishing this one in Procreate for demo purposes. One of the cool things with Procreate is that you can export your video, going into tools while in your drawing, export it, like to Drop Box and it sends out a little MP4 file. There I can work faster, esp with the Cintiq monitor. Plus I can get the texture that I really want. I like the Progreate tools but I prefer the Cintiq monitor or Wacom tablet for adding the detail and color.
When I Illustrate Children’s Books, I Use my Cingiq Monitor.
If you want to see more on that, you can find tutorials on FolioAcademy. There are a lot of digital video courses, like for Photoshop, How to illustrate children’s books, how to design a drawing and a lot more. Here is where you can find my courses and you can also choose from a lot of other artist instructors.
iPad Speed painting Demo Video using Procreate & a cheap stylus